Batch Image Processing: How to Compress 50 Files at Once
If you've ever spent an afternoon manually compressing 40 product photos one by one, you understand the frustration. Open file, drag to tool, adjust settings, download, rename, repeat, for every single image. It's one of the most tedious, time-consuming workflows in digital content creation.
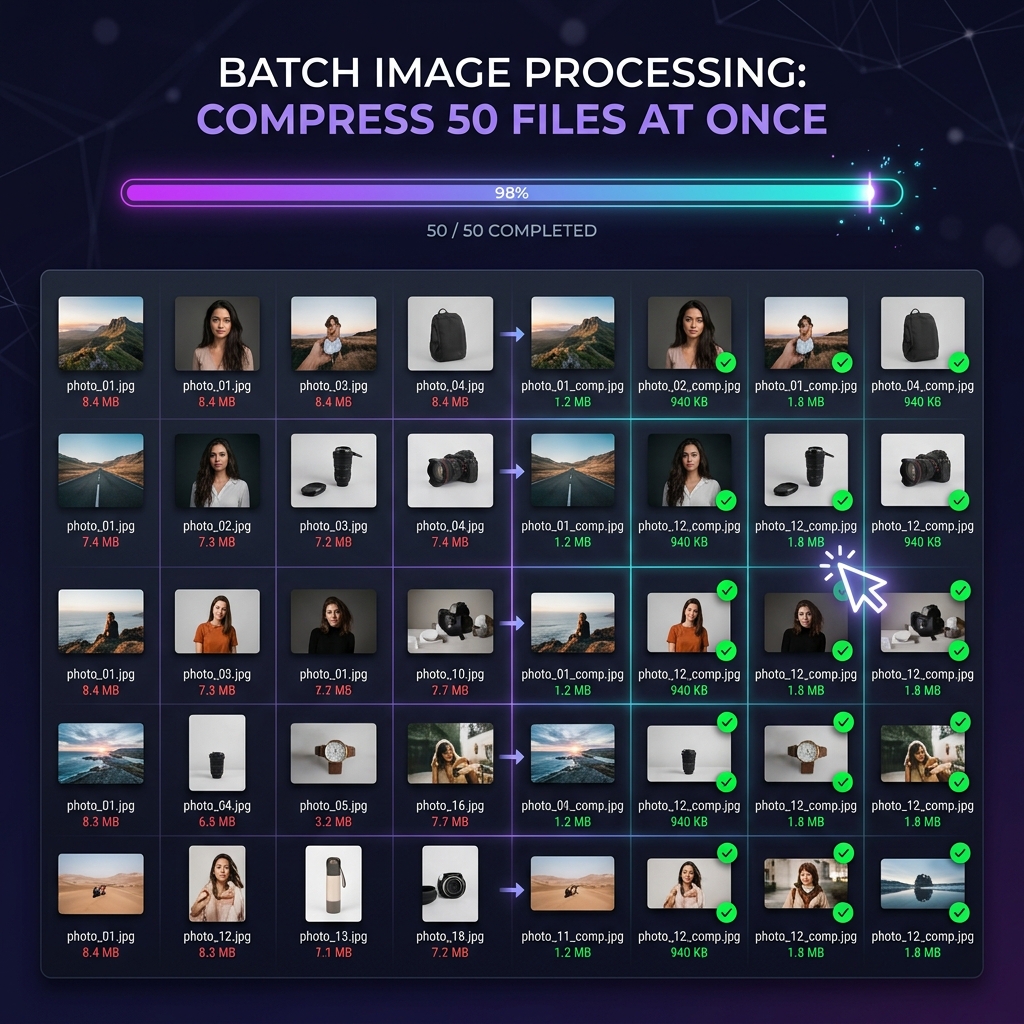
Batch image processing eliminates this completely. Drop all 50 images at once, set your quality level or target file size, and download everything, compressed, optimized, and ready to use, in under a minute. This guide shows you exactly how to do it, for free, without uploading your files to any server.
The Time Cost of Processing Images One at a Time
Let's quantify what manual image processing actually costs you. Assume you're processing 50 product images for an e-commerce store:
At typical freelance rates of $50/hour, manual processing of 50 images costs $62.50 in time. Batch processing reduces that to effectively zero. For teams doing this weekly, the annual time savings can exceed 60 hours per person.
Who Benefits Most from Batch Image Processing?
📸 Photographers
Export an entire shoot of 200+ images directly from editing software and batch compress for web delivery or client galleries.
🛒 E-commerce Sellers
Compress all product photos before uploading to Shopify, WooCommerce, or Amazon, faster load times mean better conversion rates.
✍️ Bloggers & Content Creators
Optimize every image in a blog post or article at once before publishing, no individual file handling required.
🎨 Designers
Export design assets from Figma or Photoshop and batch compress the entire asset set for developer handoff.
👩💼 Marketing Teams
Compress campaign assets, social media images, and banner ads in one batch before scheduling or distribution.
🏗️ Web Developers
Optimize all images in a project directory before deployment, or set up a batch job as part of a build workflow.
How to Batch Compress 50 Images with Imageconvertix (Step-by-Step)
Go to Imageconvertix on any device. No sign-up, no installation, the tool is ready immediately.
Choose a target file size chip (5kb, 10kb, 50kb, 100kb, 200kb, 500kb, 1mb, 2mb, 5mb) or drag the quality slider. For web images, quality 80 is the recommended starting point.
Either drag all images from your file manager into the drop zone simultaneously, or click the zone and hold Ctrl/Cmd while selecting multiple files in the file picker. Up to 50 images per batch.
Each image is compressed as it's added. You see the original size, compressed size, and percentage saved for every file. The quality slider updates all results live.
After reviewing results, adjust the quality slider if any images need more or less compression. Changes apply to the entire batch instantly.
Click "⬇ Download All" to get a ZIP file containing all compressed images with their original file names preserved. Or download individual files using the per-image download buttons.
⚡ Speed fact: Imageconvertix uses your browser's Canvas API for JPEG/PNG and WebCodecs for AVIF/WebP. Images are processed in parallel using Web Workers, utilizing multiple CPU cores simultaneously, often faster than uploading to a server and waiting for remote processing.
Batch Compression vs. Batch Conversion: What's the Difference?
Batch compression reduces the file size of images while keeping the same format. A batch of 20 JPEGs becomes 20 smaller JPEGs. This is ideal when you need to keep format compatibility but reduce file sizes for web performance.
Batch conversion changes the format of every image in the batch. Converting 20 JPEGs to WebP both changes the format and usually reduces file size significantly. This is the recommended approach when optimizing for web performance, as it combines the benefits of format modernization and compression in one step.
Imageconvertix supports both workflows:
- Compressor tab: Adjust quality and target size while maintaining original format
- Image Converter tab: Select a target format (WebP, AVIF, JPEG, PNG, etc.) and batch convert all dropped images
Maintaining Consistent Quality Across a Large Batch
One challenge with batch processing is that different images respond differently to the same quality setting. A simple flat-color graphic compresses aggressively at quality 70 with no visible loss. A high-detail nature photograph might show artifacts at that same setting. Here's how to handle heterogeneous batches:
- Separate by content type: Process photos and graphics separately with different quality settings (photos at 75–80, graphics at 85–90).
- Use target size mode: Instead of fixed quality, use a target file size (e.g., 100 KB). The compressor adjusts quality per-image to hit the target, accounting for each image's complexity.
- Review outliers: After batch processing, look for any images where the compression ratio is unusually high or low and adjust those individually.
- Preview at 100%: Always check a sample of compressed images at 100% zoom before uploading to production. What looks fine in a thumbnail can show compression artifacts when viewed at full size.
Batch Processing Best Practices for Different Use Cases
E-commerce Product Photos
- Target: Under 100 KB per image, 800×800px square crops
- Format: WebP (quality 82) for main images, JPEG fallback
- Batch: Group by product category and process with consistent settings per category
Blog and Editorial Images
- Target: Under 150 KB per image, max 1200px wide
- Format: WebP quality 80 for all content images
- Batch: Process all images for a post or series together
Photography Portfolio / Client Galleries
- Target: Under 500 KB for full-size, under 50 KB for thumbnails
- Format: JPEG quality 85 for maximum compatibility with gallery platforms
- Batch: Process full-size and thumbnail versions separately
Social Media Assets
- Target: Under 200 KB per image (platform limits vary)
- Format: JPEG quality 80 (email and legacy platforms), WebP for web-native platforms
- Batch: Group by platform and crop specifications
Downloading Batch Results: Individual Files vs. ZIP
Imageconvertix provides two download options for batch results:
- Individual download buttons: Each compressed image has its own download button showing the compressed file size. Use this when you only need to replace a few specific images.
- Download All (ZIP): The "⬇ Download All" button packages all compressed images into a single ZIP file with original file names preserved. Use this for full batch downloads, extract and upload directly to your CMS or hosting platform.
File names are always preserved in the output, making it easy to match compressed images back to their originals and maintain your folder organization.
How Batch Image Compression Improves Core Web Vitals
Google's Core Web Vitals scoring system directly links image file sizes to real-world user experience metrics. When you batch compress images before publishing, you are not just reducing storage costs. You are actively improving three measurable signals that Google uses as ranking factors.
The most important of these is Largest Contentful Paint (LCP), which measures how long it takes for the biggest visible element on a page to load. For most websites, the LCP element is a hero image or a large product photo. Industry benchmarks consistently show that every 100 KB reduction in hero image file size translates to a 0.2 to 0.4 second improvement in LCP on mobile connections. If your current hero image is 800 KB and you batch compress it to 150 KB, you can expect LCP to improve by 1.3 to 2.6 seconds on 4G connections.
The second metric is Cumulative Layout Shift (CLS). When images load without reserved dimensions, they push other page elements around while loading, creating visual instability. Batch-compressing images and always specifying width and height attributes in your HTML prevents this layout shift from occurring. This keeps your CLS score low, another factor in Google's Page Experience ranking signal.
Third, smaller images free up the main thread during page load, which directly reduces Interaction to Next Paint (INP). When the browser finishes loading images faster, it can respond to user inputs sooner. For e-commerce sites, this translates directly to higher add-to-cart rates and lower abandonment.
The compounding effect is significant. A site that systematically batch compresses all images before publishing will outperform an unoptimized competitor on Core Web Vitals across every page, not just the homepage, which influences rankings for every keyword the site targets.
Browser-Based Batch Tools vs Desktop Software: Which Is Better in 2026?
Many professionals still reach for desktop applications like Photoshop, GIMP, or dedicated batch tools like ImageOptim. These have real advantages, but browser-based batch tools have closed the performance gap dramatically and now hold several decisive advantages for everyday use.
Zero installation. Browser tools require no download, no license, no system requirements check. You open a URL and start working. For teams where multiple people need to compress images, this eliminates the need to install and maintain software on every machine. A shared browser bookmark is all that is needed.
Cross-platform consistency. Desktop software behaves differently on Windows, macOS, and Linux. Browser-based tools run identically on every operating system and even on mobile devices, producing the same output regardless of which device your team member uses.
Privacy by design. Enterprise desktop tools often have cloud sync features that upload files without explicit user consent. Browser-based tools like Imageconvertix process everything locally in memory. There is no sync, no upload, no telemetry. Files never leave the device. This matters enormously for teams handling client photos, medical images, legal documents, or any sensitive visual content.
Always up to date. Desktop applications require manual updates to support new formats like AVIF. Browser tools automatically use the latest browser codec support. As browsers improve their AVIF and WebCodecs implementations, your tool automatically benefits without any update step.
Where desktop tools still lead: very large batch sizes (500+ images), command-line automation for CI/CD pipelines, and lossless RAW photo processing. For all everyday web publishing workflows, browser-based batch tools are the faster, simpler, and more private choice.
The Real Impact of Image File Size on Conversion Rates
The business case for batch image compression goes beyond search rankings. Page speed directly affects revenue, and images are the primary driver of page weight. Research from Google and Deloitte found that a one-second improvement in mobile page load time increases conversion rates by up to 27% for retail sites. Amazon calculated that a 100ms slowdown costs them 1% in sales. These are not abstract statistics. They represent the tangible cost of unoptimized images.
For an e-commerce store with 500 product pages, each with three product images averaging 400 KB, total uncompressed image weight is 600 MB across the site. After batch compression to 80 KB per image using WebP format, that drops to 120 MB, an 80% reduction. Users on mobile connections load product pages in under two seconds instead of eight. The psychological effect alone, the perception that your site is fast and professional, increases trust and purchase intent.
Portfolio sites and photography businesses see similar gains. Clients browsing a slow gallery lose patience and leave. A photographer who batch compresses their portfolio images to under 200 KB each, using JPEG quality 85 for compatibility, can serve a 30-image gallery in under three seconds on 4G. The same gallery with uncompressed images takes 25 to 40 seconds to fully load.
The math consistently favors batch compression as one of the highest-return optimizations available. It costs nothing in tool fees, takes under a minute per batch, and delivers measurable improvements in speed, rankings, and revenue.
Organizing Your Batch Processing Workflow for Maximum Efficiency
A repeatable workflow is what separates professionals from casual users. Here is a practical system for integrating batch image compression into your content creation or publishing process.
Create a staging folder. Before publishing any content, move all raw images into a staging folder named something like "compress-queue". This folder holds images waiting to be processed. Never upload from your original capture folder directly.
Batch by content type, not by date. Process all product photos together with the same settings. Process all blog header images together. Process all thumbnail images together. Grouping by content type lets you apply consistent quality settings and target sizes to the whole batch rather than making case-by-case decisions for each image.
Name your files descriptively before compressing. File names are preserved during compression, so naming images with keyword-rich, descriptive names before the batch run ensures your SEO-friendly filenames carry through to the final output. Use hyphens, not underscores or spaces. For example: batch-image-compression-guide-hero.webp performs better in image search than IMG_4892.jpg.
Compress, then upload. Never upload raw images directly to your CMS and rely on server-side compression. CMS compression is often applied inconsistently and cannot match the quality-size optimization of a dedicated tool. Always compress locally first, then upload the compressed file.
Archive compressed outputs separately. Keep a "compressed-ready" folder alongside your staging folder. Move compressed images here after processing. This gives you a clean audit trail and makes it easy to re-upload if needed without reprocessing.
This workflow adds roughly three minutes to any publishing session but saves hours over the course of a month, particularly for teams publishing multiple pieces of content per week.
Common Mistakes in Batch Image Compression
Even with the right tools, certain mistakes consistently degrade the quality of batch processing outputs. Avoiding these is as important as the compression step itself.
Compressing already-compressed images. If you apply batch compression to JPEG files that were already compressed from a previous session, you are double-compressing. Each lossy compression cycle introduces new artifacts. Always keep original, uncompressed source images and compress from the source each time.
Using too aggressive a quality setting for the entire batch. Setting quality to 50 to achieve the smallest possible files will create visible artifacts on high-detail photographs even when it works fine for simpler graphics. Use quality 75 to 85 for photos and consider separate batches for graphics, which can go lower without visible degradation.
Ignoring image dimensions. Compressing a 5000px wide image to a smaller file size but leaving it at 5000px wide is only half the optimization. The browser still has to download and decode a 5000px image even if it displays it at 400px. Always resize images to their intended display dimensions before or during compression. Many batch tools, including Imageconvertix, allow you to set maximum dimension constraints as part of the batch job.
Not checking results before uploading. Batch processing is fast because it automates decisions. But automation can miss edge cases. Always open three to five images from each batch at 100% zoom to verify quality before uploading to production. This five-minute check prevents publishing pixelated or over-compressed images that damage professional credibility.
Skipping format conversion. The biggest missed opportunity in batch image workflows is continuing to use JPEG when WebP is now universally supported. Switching format in the same batch run adds zero extra steps in Imageconvertix and delivers 25 to 35% additional file size reduction on top of quality compression alone.
Frequently Asked Questions
How do I compress multiple images at once for free?
Use Imageconvertix, drag up to 50 images into the compressor and they are all processed simultaneously in your browser. Download individually or as a single ZIP. Free, no upload, no account required.
What is the fastest way to compress a large number of images?
Browser-based batch compressors like Imageconvertix are often the fastest end-to-end because they eliminate network upload time. 50 images can be compressed in under 30 seconds using your device's local CPU.
Can I batch convert images to WebP or AVIF?
Yes. Imageconvertix's Image Converter tab supports batch conversion to WebP, AVIF, JPEG, PNG, BMP, TIFF, and more. Select your target format and drop multiple images to convert the entire batch at once.
Is there a free batch image compressor with no upload?
Yes. Imageconvertix is completely free, requires no upload, everything runs locally in your browser. No account needed, no file size limits, no watermarks on compressed images.
How many images can I compress at once with Imageconvertix?
Imageconvertix supports up to 50 images per batch session. For larger collections, you can run multiple sessions consecutively or split into groups of 50.
Batch Compress Up to 50 Images, Right Now
Free, private, instant. Drop your images, download the results. No upload, no account, no time wasted.
Start Batch Compressing →Related: Image Compression Guide · WebP vs AVIF · Image SEO Guide · Privacy Guide